JDML Garage supply


Legends never die. They are simply reborn.
Some legends live on in our hearts and minds, but never see the light of day.
Some legends are mere stories handed down and spoken of as if they were myth.
Some legends, like a miracle, appear once in a lifetime making dreams a reality.
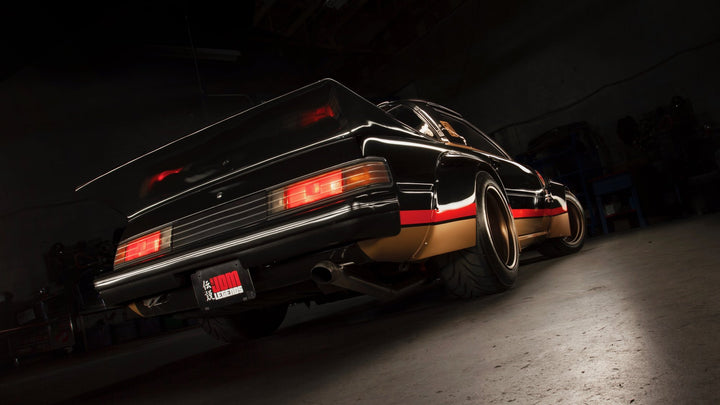
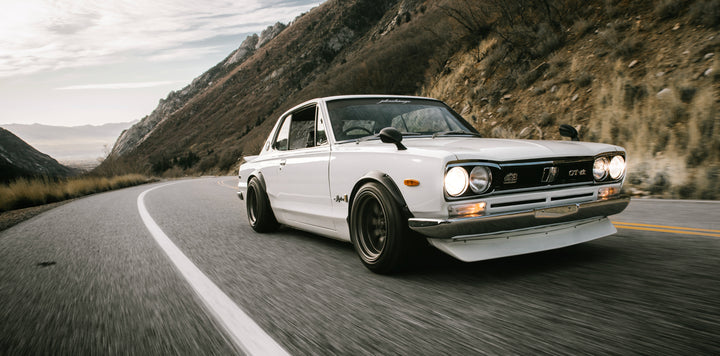
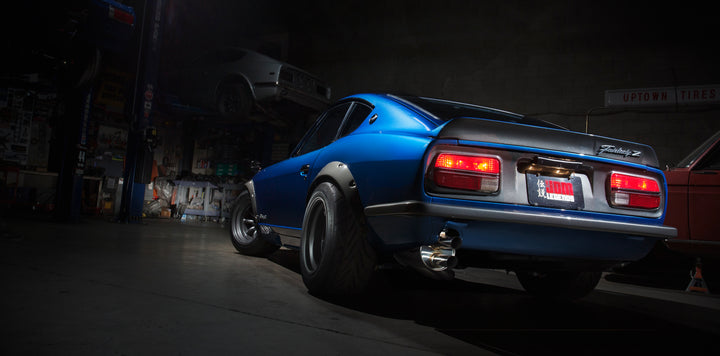
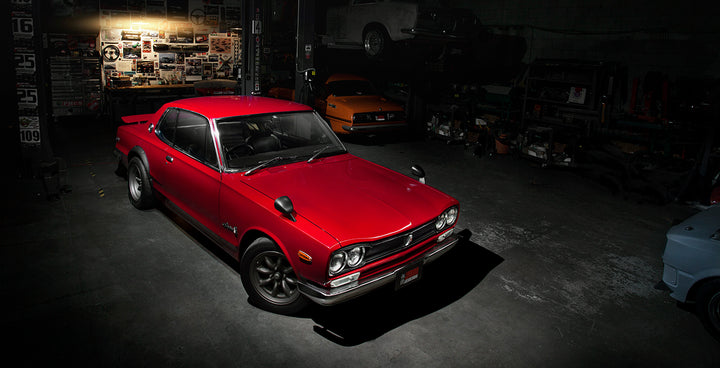
RESTORED BODY. ORIGNIAL SOUL.
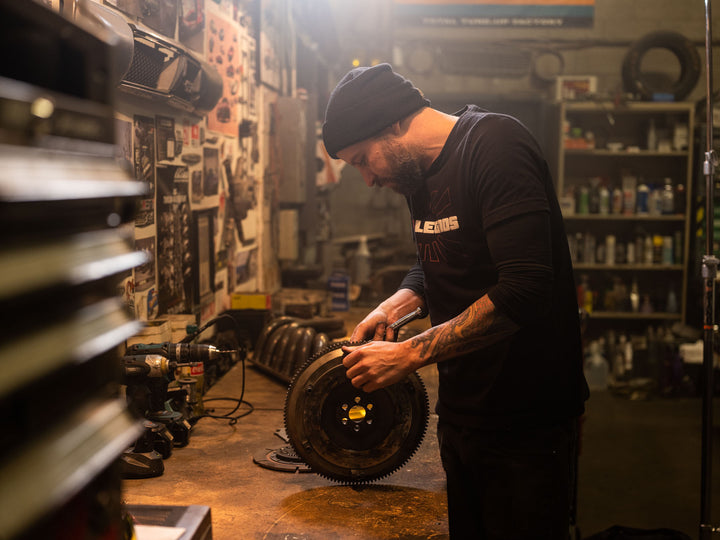
Photos and video dont always do a legend justice. The curve of the drivers seat, the smell of the gasoline, the intoxicating sound of the exhaust, the view of the road, and the RPMs rising call you to shift in a harmony of power, control, and majesty. JDM Legends specializes in bringing each and every element of these sensations to life, creating an art piece of perfect form and function. The only missing component is you. Let us bring you into a symphony you were born to be a part of.
FEATURES & HIGHLIGHTS

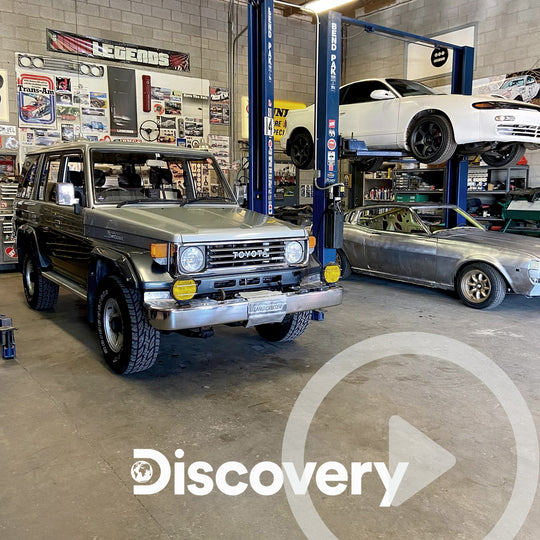
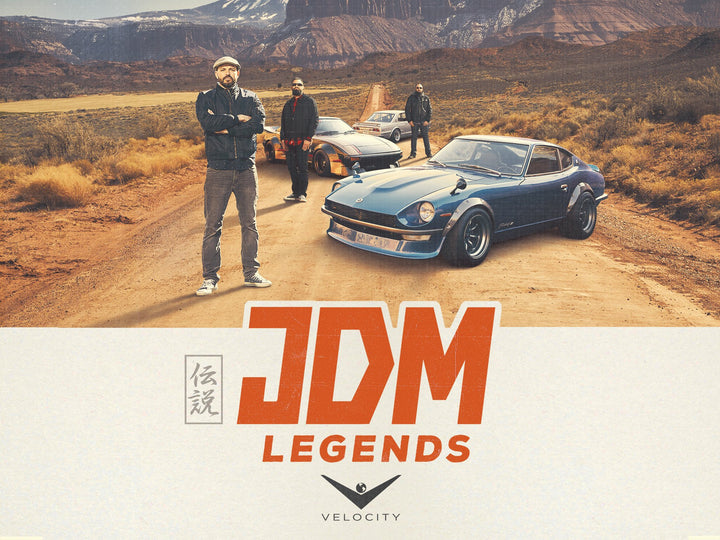
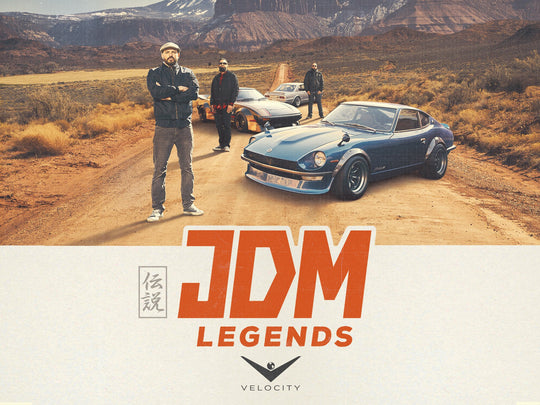
Legends Meet Legends (Episode 1)
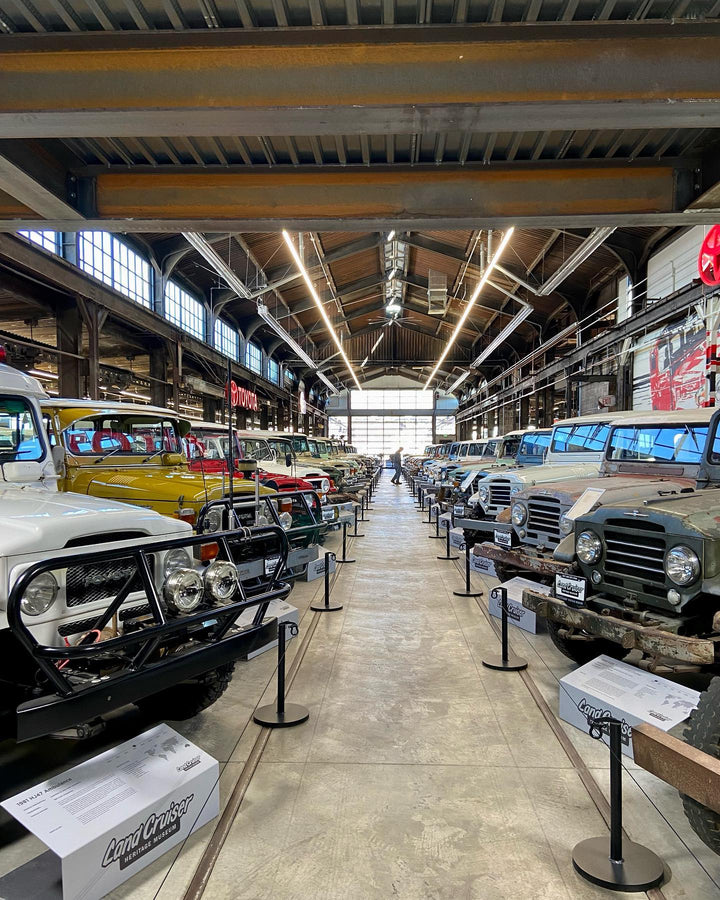
As a part of Discovery's recent collaboration with Toyota Land Cruiser, we completed a 4-part video series with Toyota on some of the history of this legendary off-road vehicle.
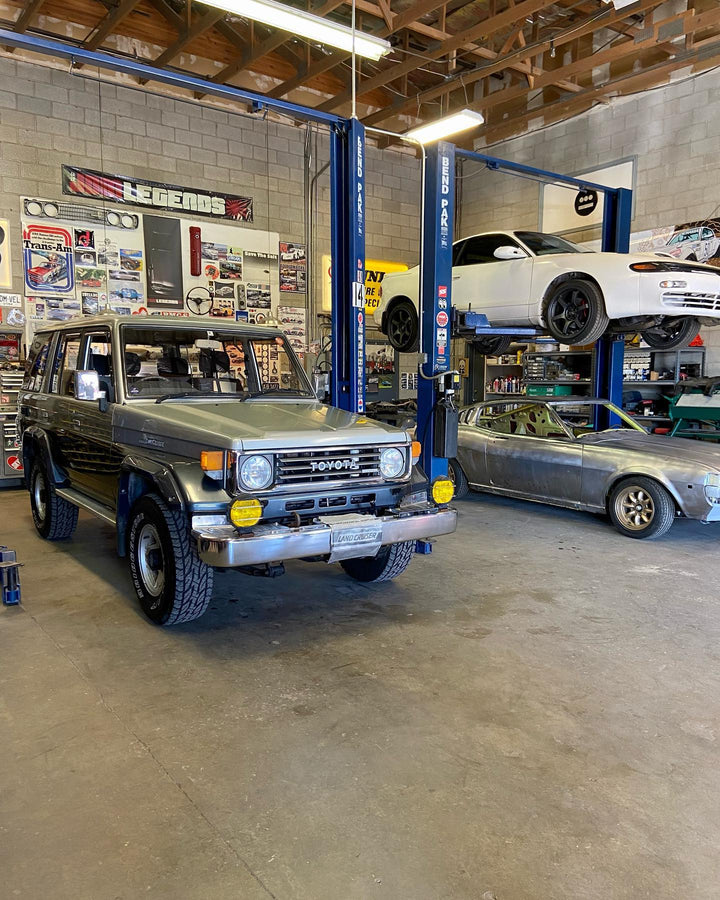
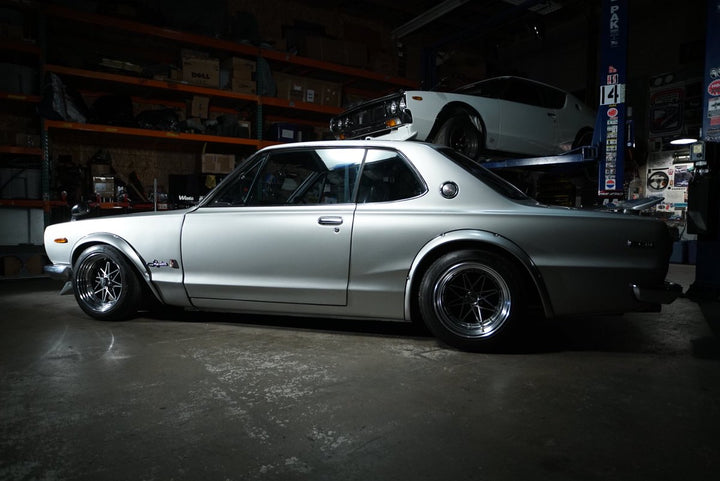
We start off episode one with a tour through JDM Legends where we go through some of our current projects and take delivery of a very special 1993 JDM FJ70
Catch season 1 episodes
If you haven't gotten a chance yet, be sure to download the Motortrend app or visit the link below to get caught up on your favorite Season 1 epsidoes. Which project is your favorite?
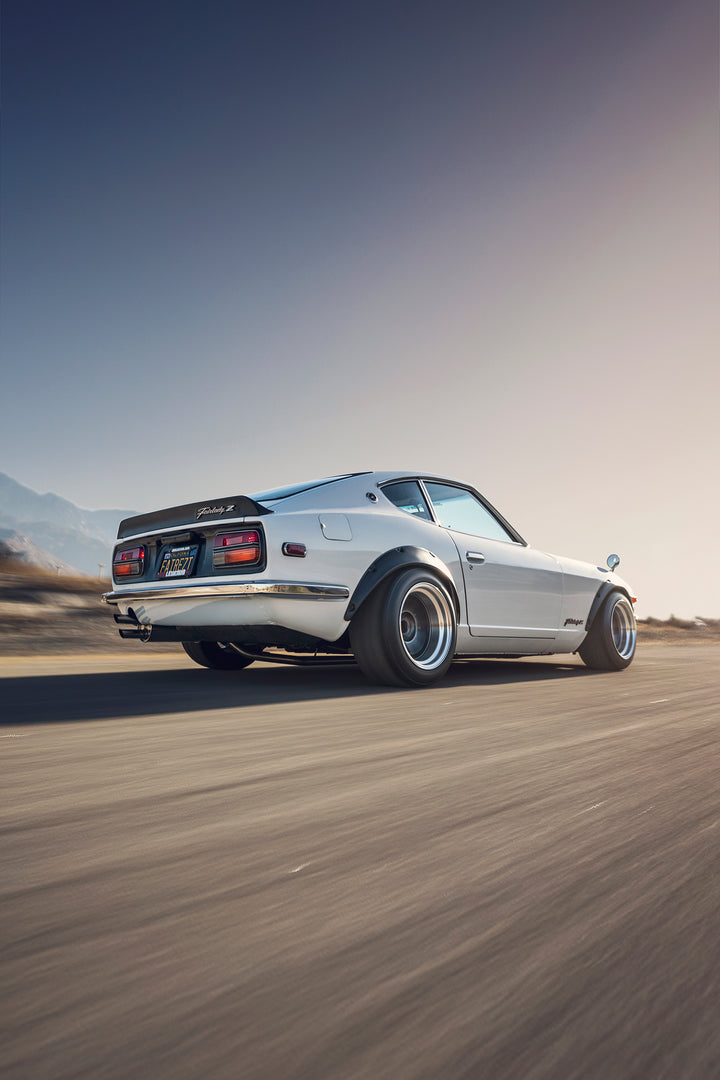
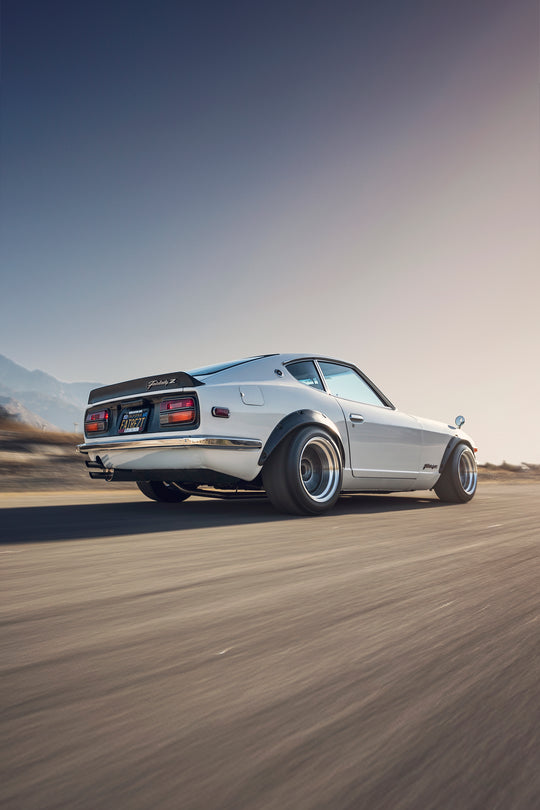
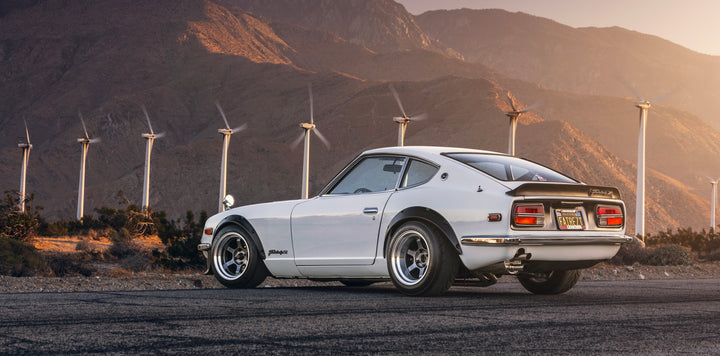
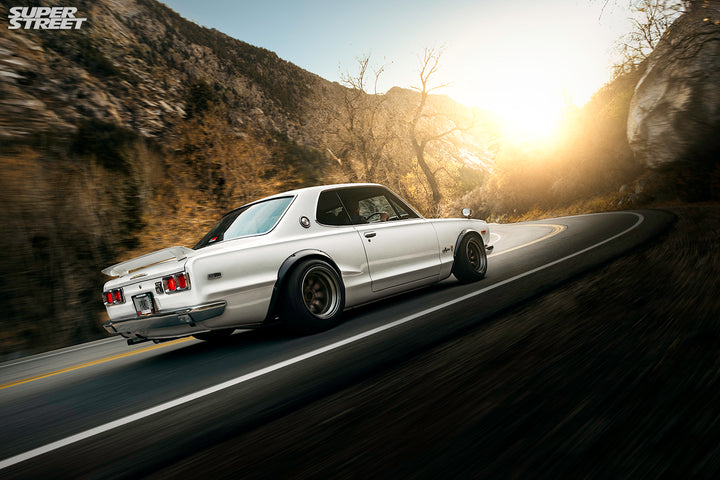
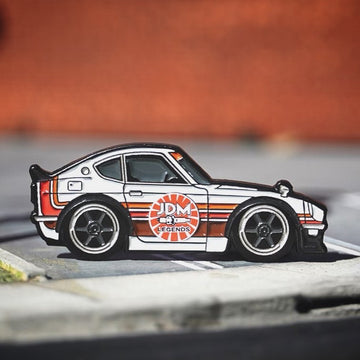
Fairezt one of all
The Fairlady Z tribute car that we built for our client graced the cover of Super Street Magazine. We are absolutely thrilled with how this car came out and all the positive reception the car has been getting. The car was also featured on the premier episode of "JDM Legends" TV series.
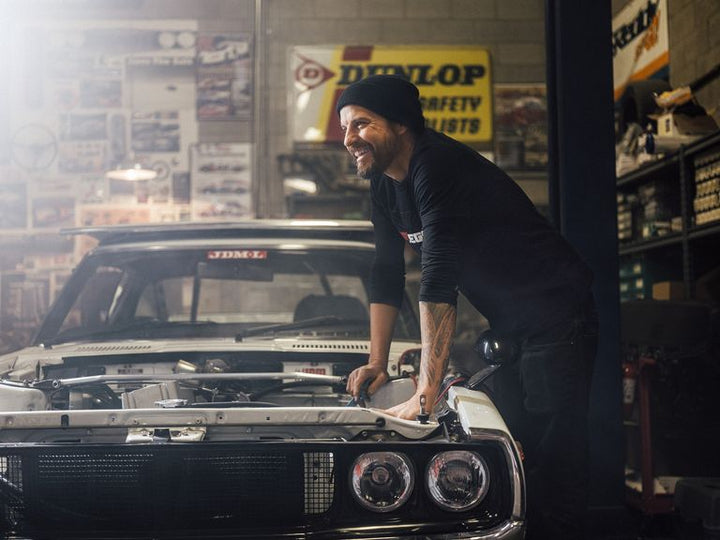

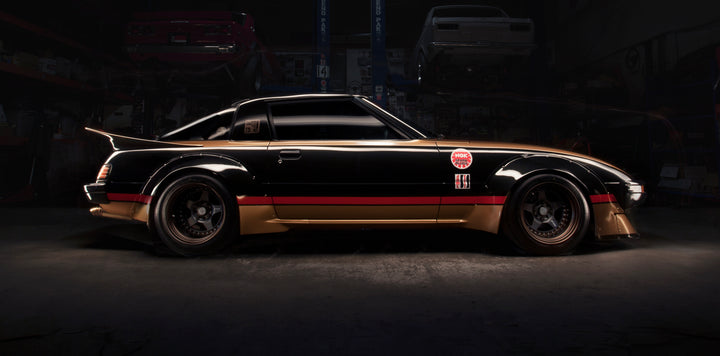
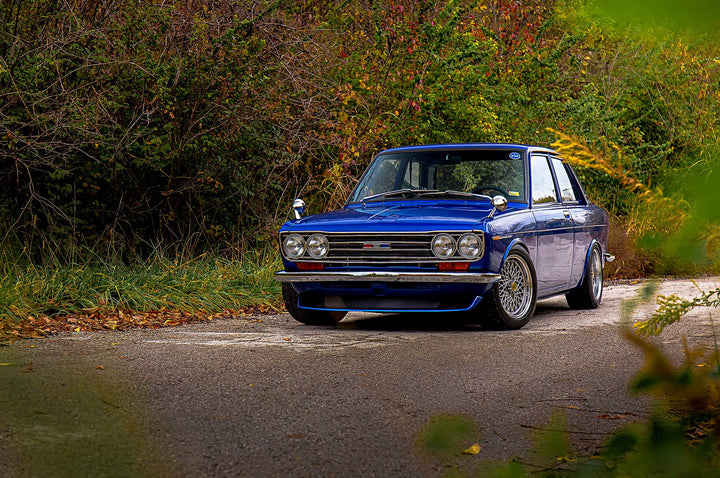
ROAD & TRACK FEATURE
Check out this new feature on Road & Track that we got to do recently. It was great to be able to open up the shop and share a little bit about what we do here in Utah with the outside world, specially during the global pandemic.
WHAT'S NEW WITH JDM LEGENDS (BLOG):